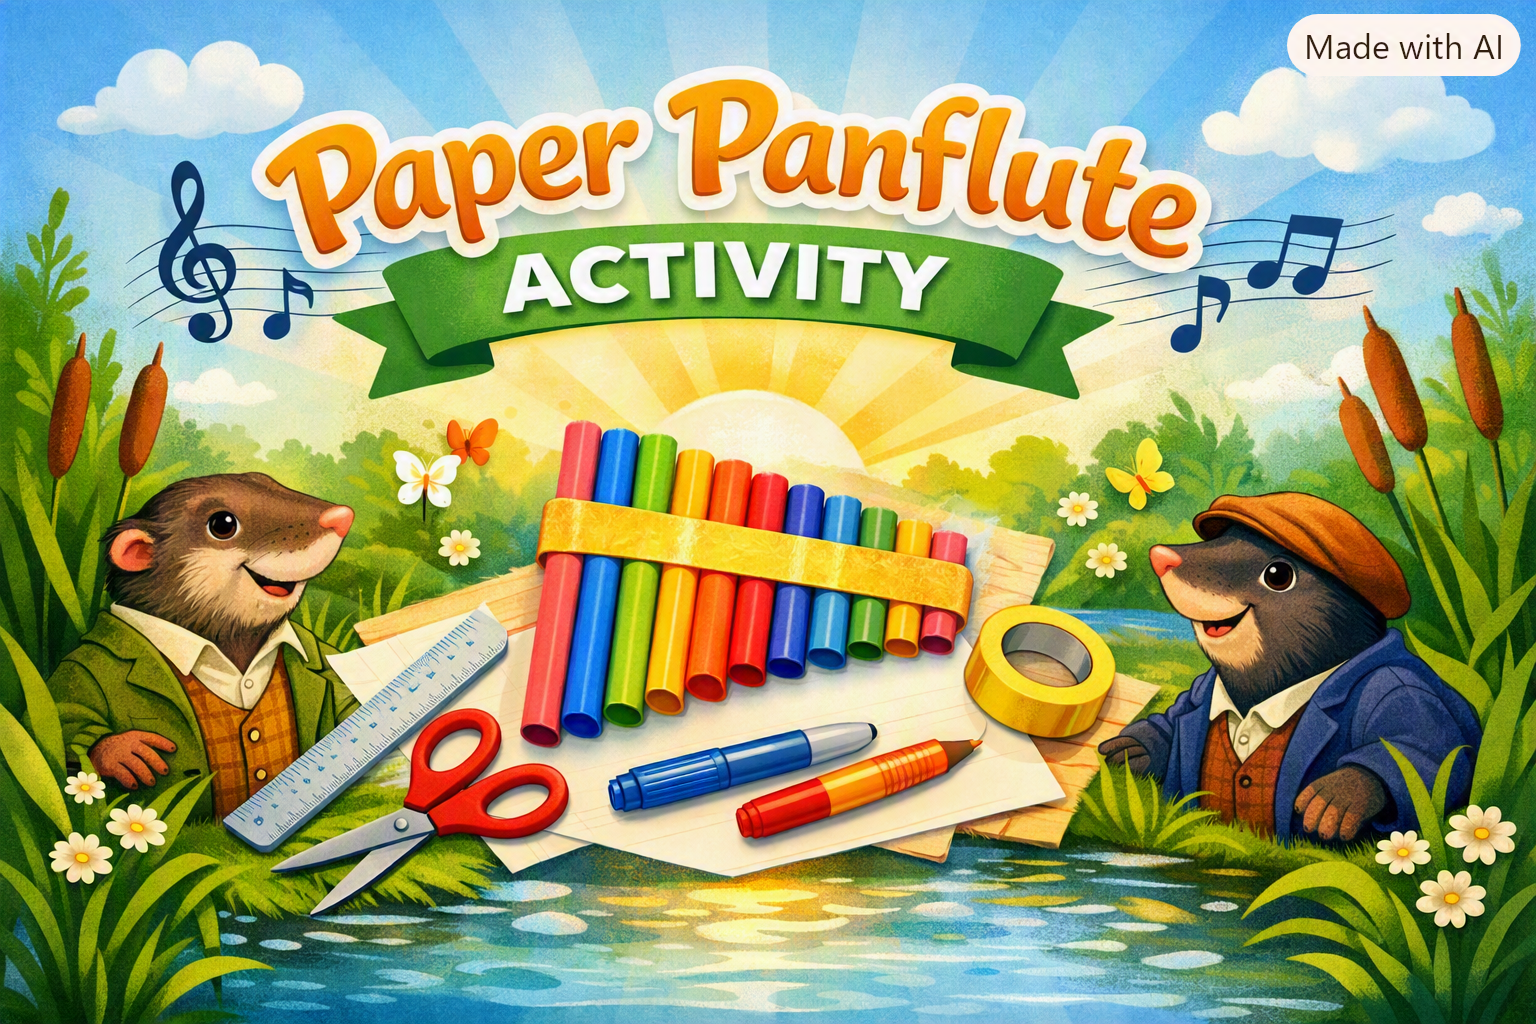
Here’s a simple, child‑friendly paper panflute craft.
1. Gather Your Materials
Children begin by collecting simple household items.
- 6–10 paper or plastic straws
- Clear tape or masking tape
- Scissors (adult supervision)
- Decorative paper, stickers, or markers
2. Cut the Straws to Different Lengths
Different lengths create different musical notes.
- Leave one straw full length
- Cut each next straw slightly shorter
3. Line Up the Straws
Arrange the straws so the tops are even.
- Place the longest straw on the left
- Add each shorter straw to the right
- Make sure the top ends are perfectly aligned
4. Tape the Straws Together
Secure the straws so they act as one instrument.
- Wrap tape around the middle
- Add a second strip near the bottom
- Press firmly so they don’t shift
5. Decorate Your Panflute
Children personalize their instrument.
- Add stickers, feathers, or colored tape
- Wrap a strip of paper around the front
- Let kids design patterns inspired by nature
6. Play Your Panflute
Kids learn how to make sound by blowing across the tops.
- Hold the panflute so the tops face your mouth
- Blow gently across the openings
- Try blowing across each straw to hear the different notes
Links
- The Wind in the Willows Chapter 7: The Piper at the Gates of Dawn.
- 🌿 A Little History of the Panflute
